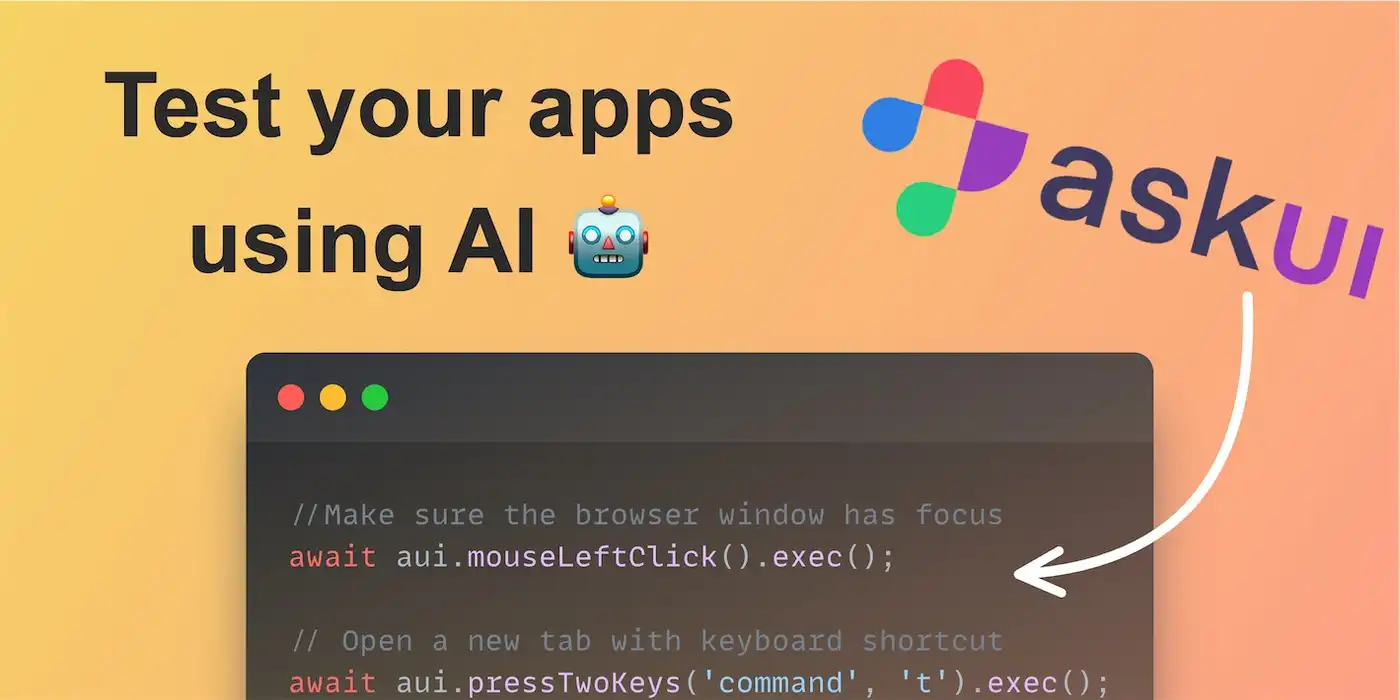
Leverage Artificial Intelligence to test your UI with askui

UI testing can be a pain and a hassle, especially for businesses that don’t have the time or resources to dedicate to it. Fortunately, there are low-code solutions like askui that can help automate tasks and make the process a lot smoother. In this post, we’ll take a look at using askui on snappify to see how it can streamline UI testing.
What is askui?
askui is a tool that allows developers to automate various actions and interactions within user interfaces (UI) on any operating system. It uses visual features and deep learning technologies to identify UI elements and simulate human actions, such as mouse movements and clicks, rather than accessing underlying code selectors or the DOM.
This enables askui to work with any UI technology, including desktop, web, and native mobile applications. It can automate a wide range of commands, including drag and drop, swipe actions, and color verification.
Additionally, askui takes care of capturing screenshots for the user. It is designed to make it easier for developers to handle UI automation tasks.
Setting Up Our Automated Project
The tool is relatively easy to setup and since the askui library is a Typescript SDK, we’ll need to create a node project. It’s recommended to use Jest as the testing library but we’ll be using vitest.
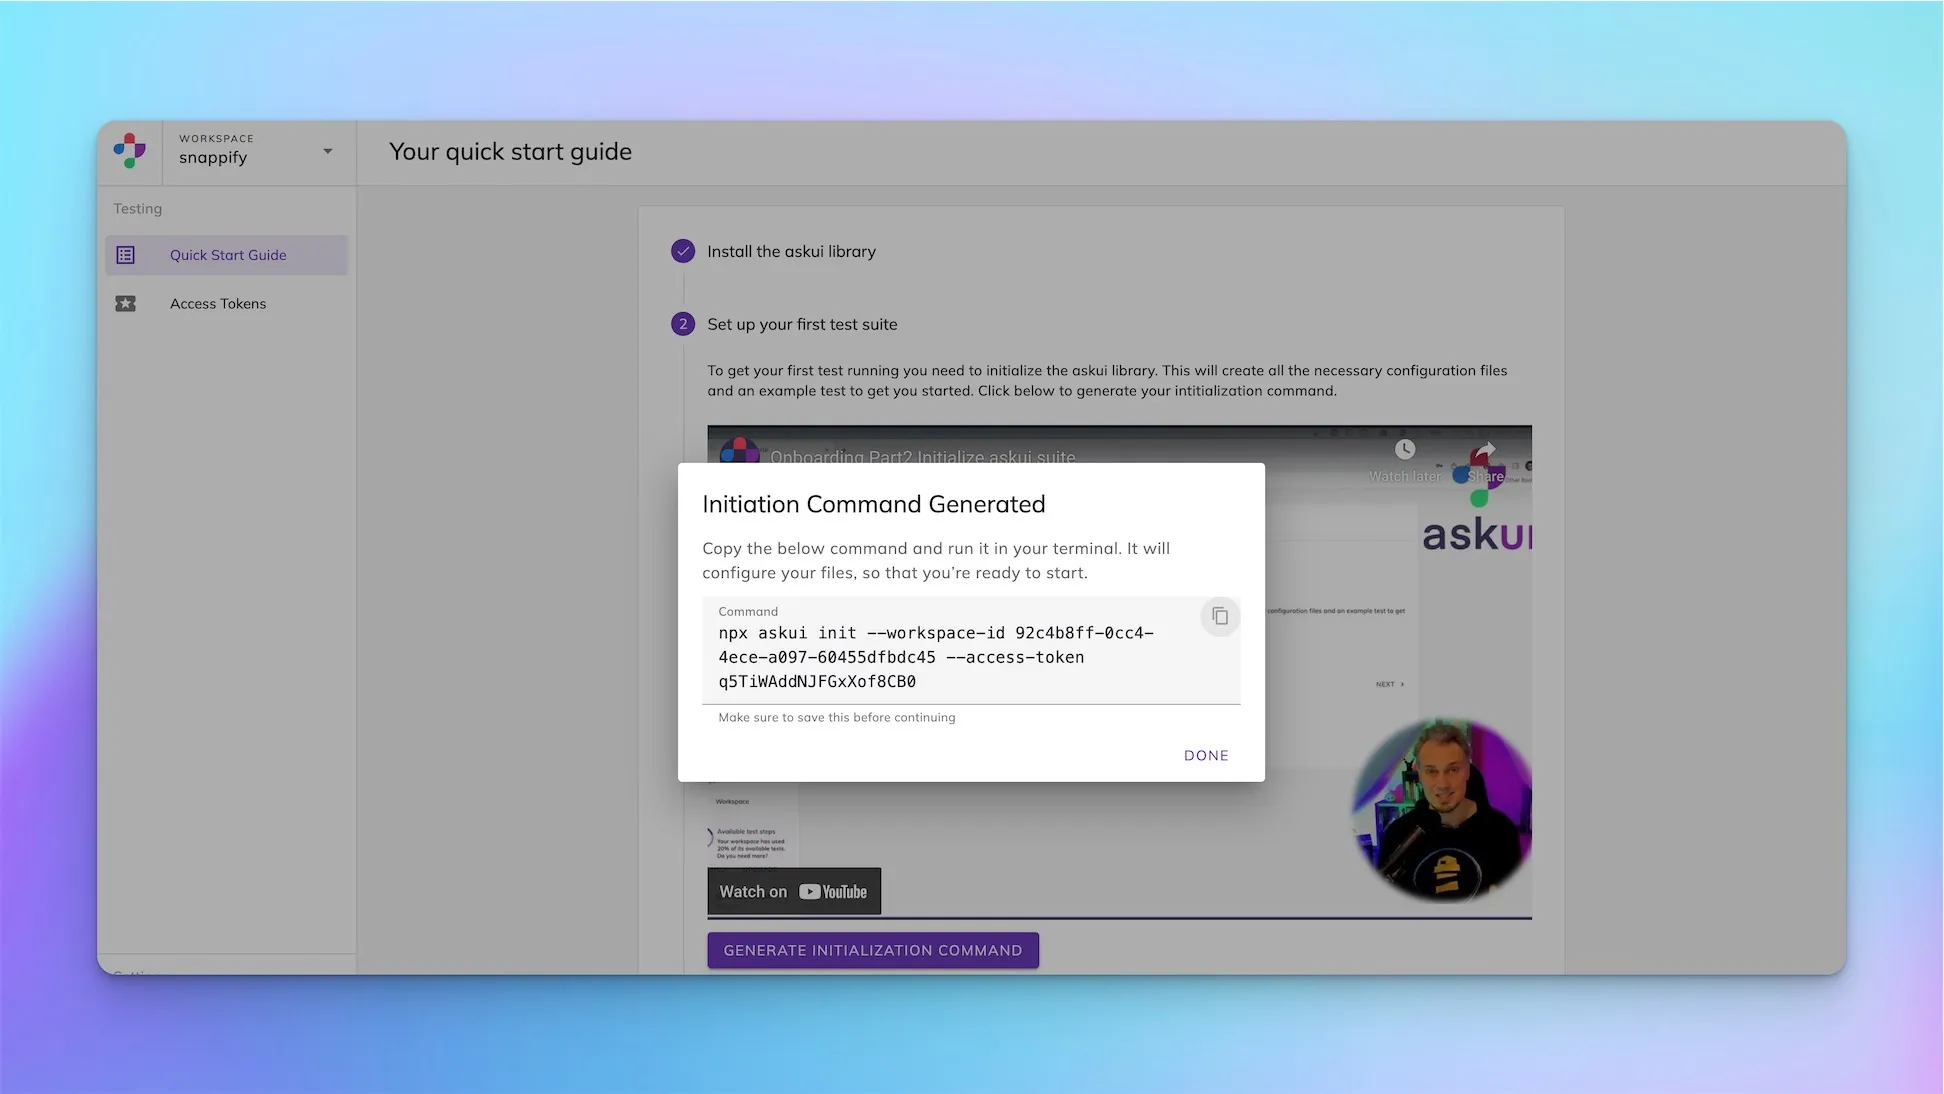
For us to use the askui library we’ll need a workspace ID and an access token. You can get these on the askui website, creating an account is free and they have an easy onboarding that will get you setup in no time.
Once we have our access token and workspace Id, we can create a simple test by using the askui init command and referencing the workspace Id and access token.
To make this work with vitest, we’ll make a few adjustments
- Create a vite config file
- Create a vite setup file, this will setup askui before we use it in our tests (test/helper/vite.setup.ts)
In the snippet above we are adding aui before each test, which is basically adding askui to each test context, we’ll have to ensure that TypeScript doesn’t complain about this when we are writing our tests so we’ll create a vitest.d.ts file with the following:
Creating a Simple Test
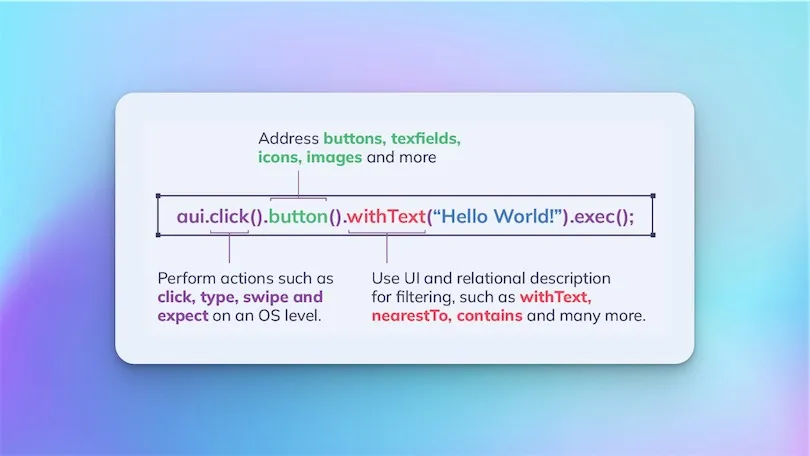
Now that we have everything set up, it’s time for us to create some tests. We’ll start off with a simple login test. At its core askui is automating our operating system and because of this we won’t be using CSS selectors or XPath to find elements on the website, it does that in a visual way, similar to us humans.
askui annotates what is currently being shown and based on the different objects that it sees on the screen, that’s how we’ll select the different elements.
The first thing that we’ll do is to see what objects are available to us by using the interactive annotation feature. We’ll use the following test below to trigger that.
The askui model tags the different elements on the screen that it can recognize and assign them a name like text, icon, button, and so on, sometimes they will have an inner text that we can use. I hovered over the Email label to see what I could use to interact with the email field since the textfield itself has no placeholder.
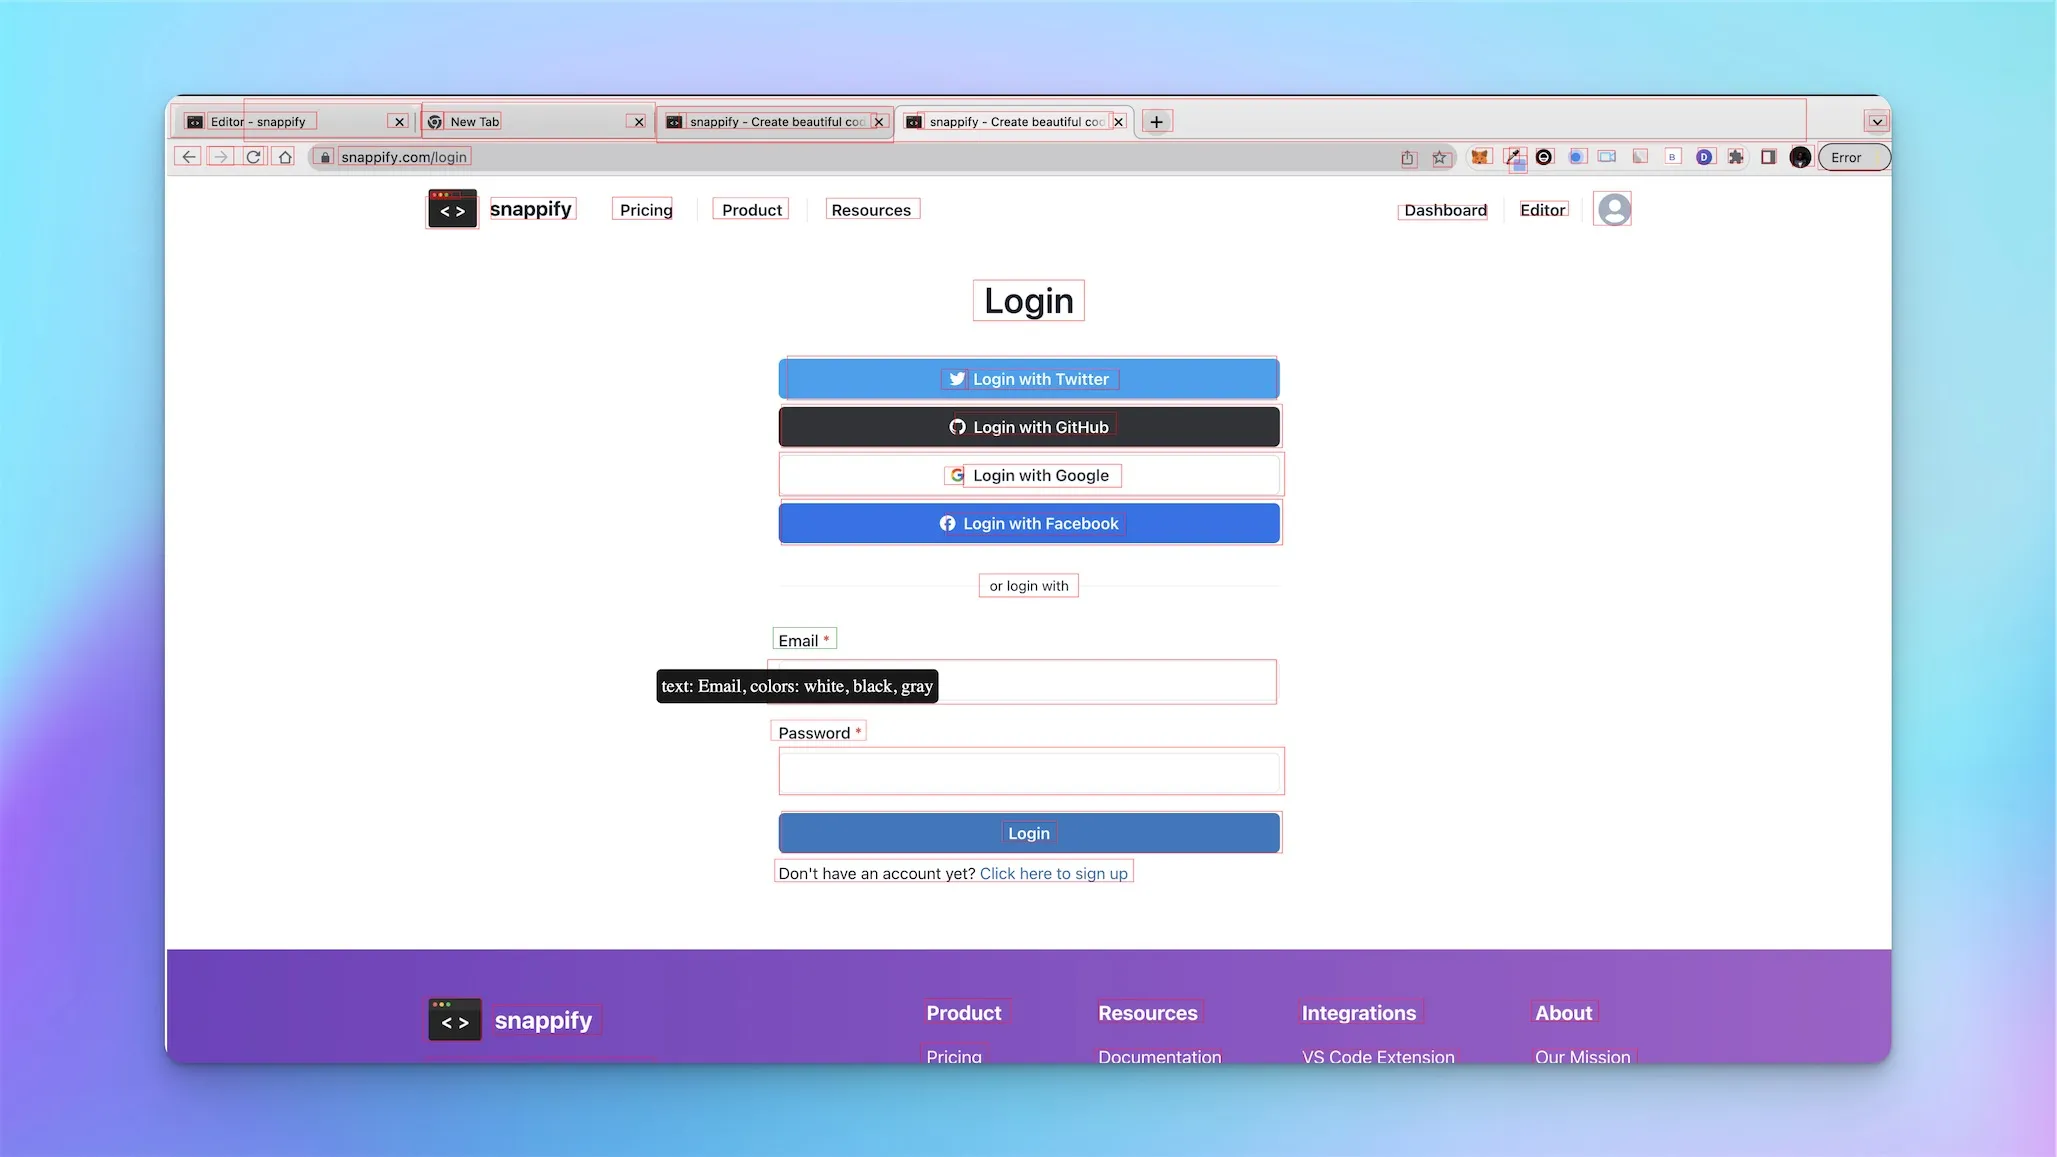
In this case, we have to use relative filters to locator the textfield that is below the label, which will be the same for the password field and the login button. Initially, when clicking the login button, I tried without the relation, and it clicked on the title Login instead.
Since we don’t have to use traditional selectors and askui provides us with the annotation, I can see this being easier for beginners who want to automate, but there is the tradeoff of being more creative when deciding how to interact with a selector based on what is on the screen.
Here is the complete login test, which works very well. We can perform an “expect” assert with vitest by getting an element that we expected to see on the dashboard once signed in, and then verifying the complete test.
Creating a Complex Test
The core functionality of Snappify is to create technical infographics via the powerful design editor. Let’s see if askui can navigate the UI to make this possible and assert that the image can be exported.
As expected we were able to accomplish creating a snap using askui in one script. Let’s talk about the test breakdown:
Title: Testing the creation and export of a code snippet with askui
Steps:
- Open a new tab in the browser and navigate to snappify.com
- Click on the ‘Dashboard’ button
- Click on the ‘Add snap’ button and select ‘Blank’
- Click on the newly created snap
- Wait for the Snappify editor to load
- Set the width and height of the background by clicking on the corresponding text fields (Width and Height) and entering ‘1080’ and ‘512’, respectively
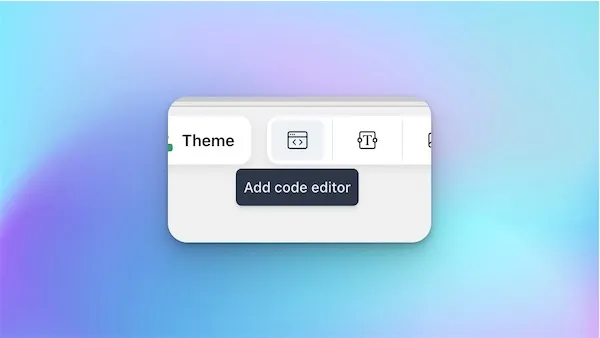
- Add a code editor by clicking on the ‘terminal’ icon
- Remove existing comment in the code editor
- Type in the following code: ‘npm init -y’, ’// Install askui and other dependencies for writing and executing tests:’, ‘npm i -D askui typescript ts-node @types/jest ts-jest jest’
- Set the code editor to spotlight mode by clicking on the icon to the right of ‘Code editor’
- Click on the ‘Export’ button to download the code snippet as an image
- Wait for the download to complete
Expected Result:
- The downloaded image should be named ‘Snap (x).png’ where ‘x’ is a number
- The image should have the snippet that was typed on snappify
This is the ideal test that we would want to perform with askui and including all of the assertions. Something unique that should be noted, is that we are going from the web app to verifying the output which is an image that will be shown on the desktop. Since askui is automating the OS, it can seamlessly automate the desktop and a web app at the same time.
You can take a minute to look through the code below:
There is a few things that I wanted to point out regarding this particular tests
- The askui model is not consistent with the annotations for some elements, for example
when adding the code editor to the background, the icon was sometimes mistaken for a calendar, so I had to chain the command for clicking on the terminal icon with an or, since it could be either.
- In the test, we did not verify that the exported image had the snippet we wrote. Ideally, something like that can be handled by visual regression and since we are using vitest as the test runner, we could easily integrate that since askui has very limited options for assertions.
Takeaways
I think this tool is very promising, maybe more suitable for native use cases since it doesn’t rely on selectors on the web automation frameworks (Cypress, Playwright, etc). Executing is a bit slow, mainly because it has to analyze what’s on the screen before interacting with it.
All-in-all it’s a great tool that is easy to use, I can definitely see smaller teams with limited resources taking advantage of this new way of automating across platforms and not having to worry too much about the different underlining technologies that an application is built on.
If you ever do try this tool, I would love to hear your thoughts on it, you can tweet at me on Twitter @irtimid_harding.
You can also find the project used in this post here: https://github.com/dimitriharding/askui-snappify-automation